Deploy .NET with Self-Contained Deployment
This guide will help you to deploy .NET app using versions not installed on the server, via Self-contained Deployment.
SCD makes it possible to choose which .NET version you want to use.
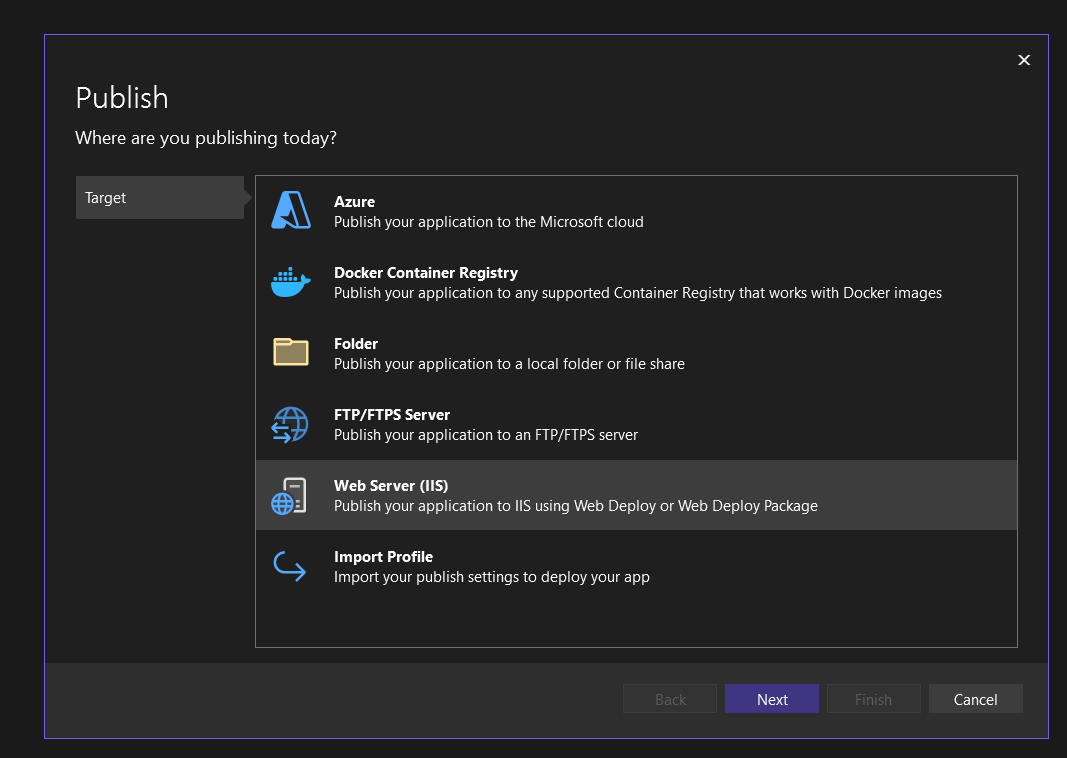
When you're ready to publish your application, you can select Build from the menu in Visual Studio, followed by Publish.

Select Web server (IIS) and click Next
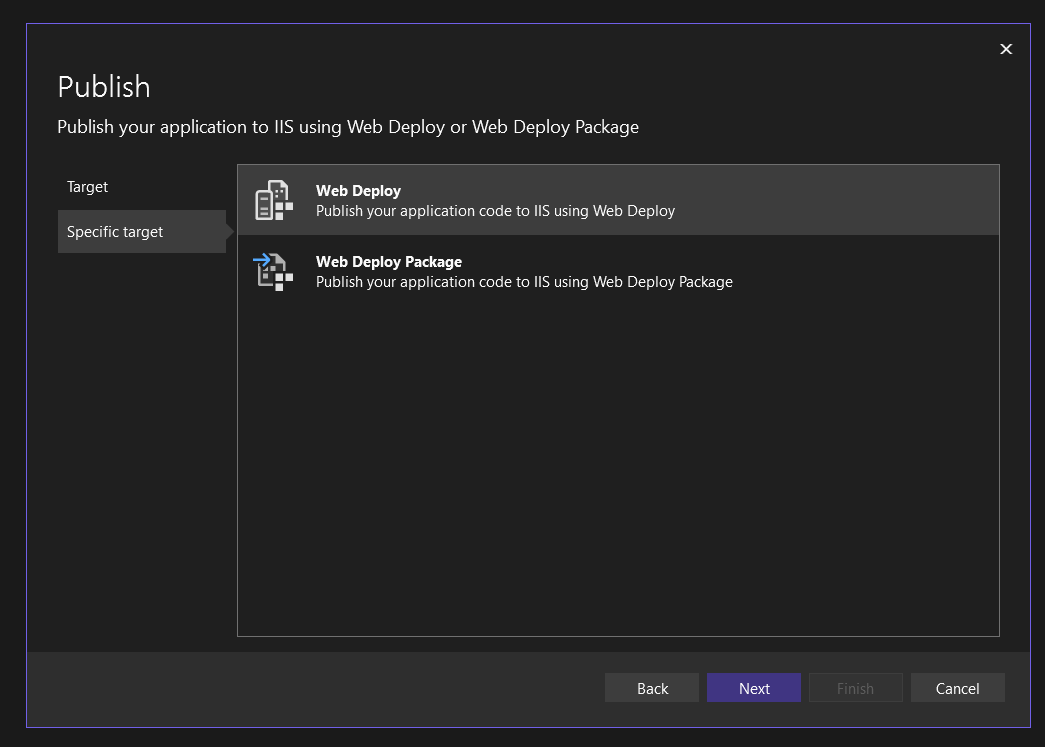
Select Web Deploy followed by clicking Next
Enter the server and login details for your web space. You can find these under "Administration" in our control panel by clicking on "Login information"
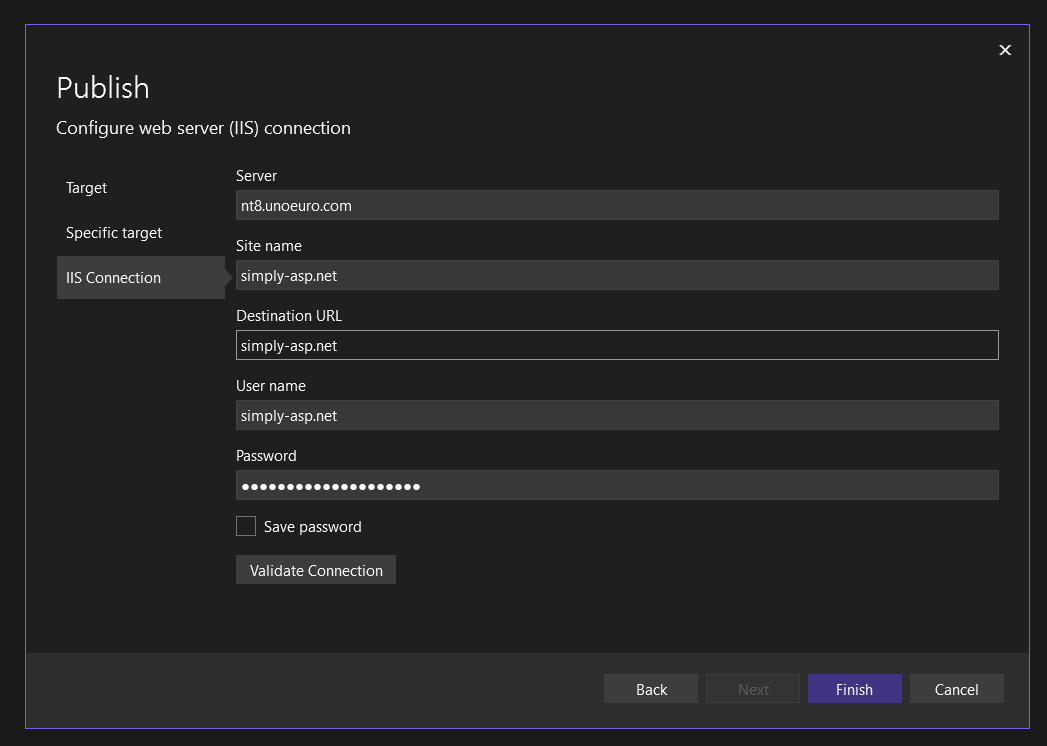
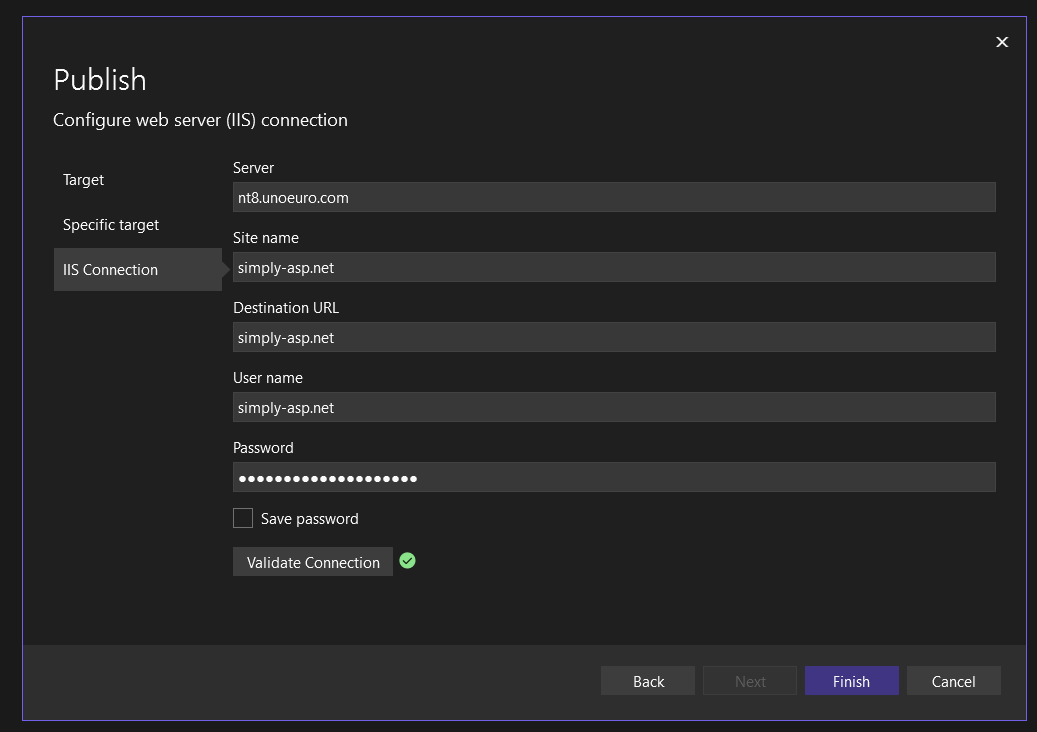
Click Validate Connection to ensure you can connect to the server.
If it fails to connect, please double check that you're using the correct information, if the issue persist, please contact us in the support
When the connection is validated with a green check mark, you can click Finish to continue.
To deploy with Self-Contained Deployment, a couple more changes are needed.
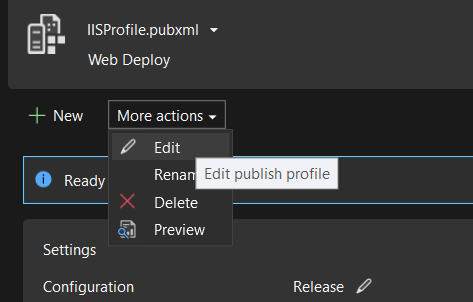
Click More actions og choose Edit
On the "Settings" page, you need to change "Deployment Mode" to Self-contained
It's also important to ensure that "Target Runtime" is set to win-x86.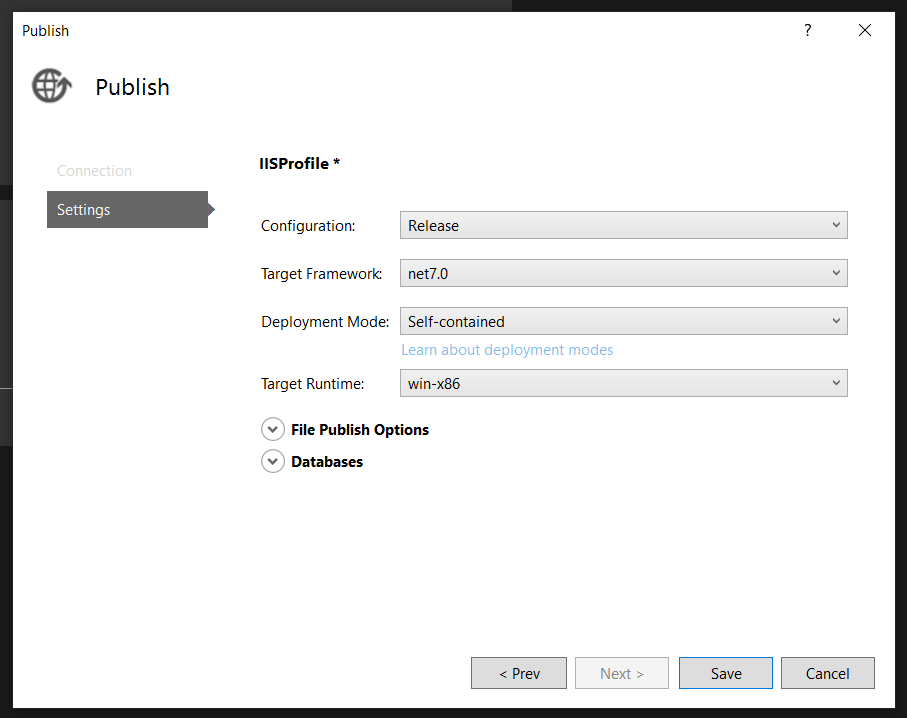
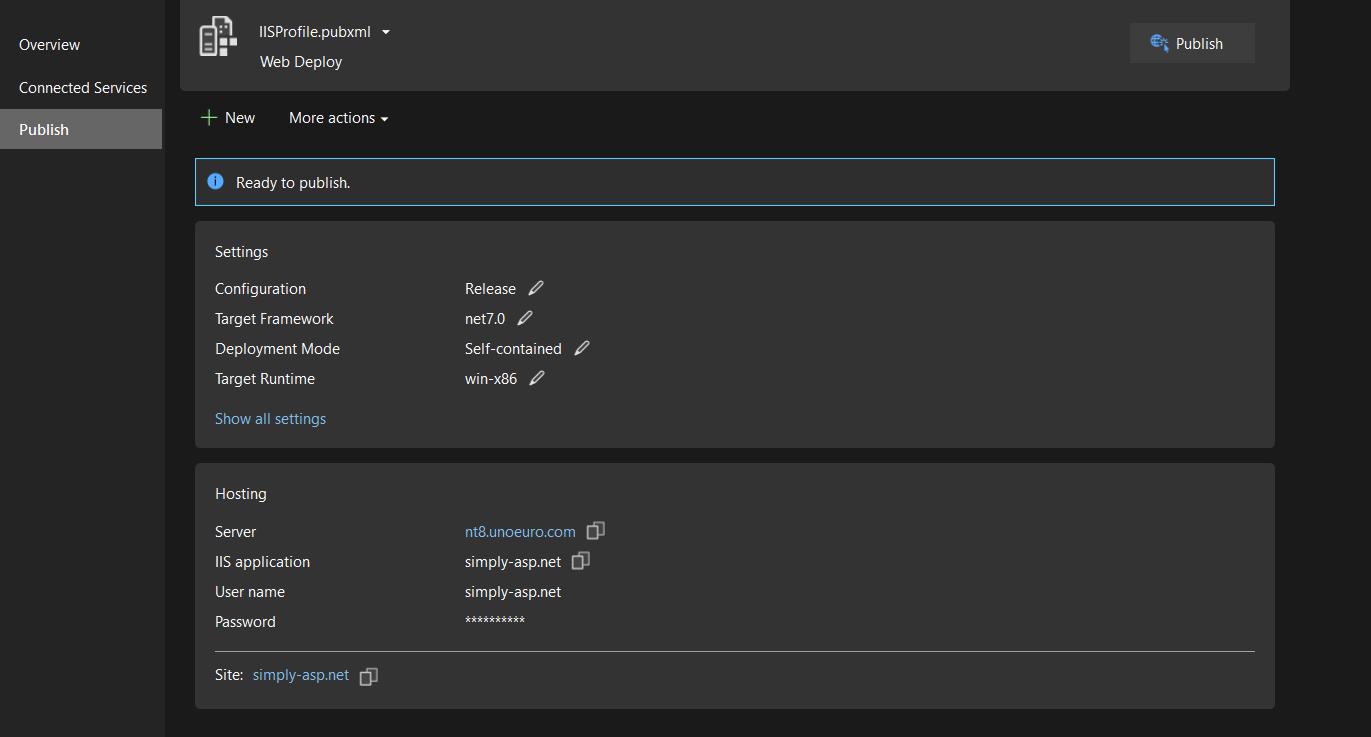
Finish by clickiing Save. Afterwards you can deploy the application to the server by clicking Publish.
Command line publish for Linux / Mac users
Navigate to the project folder root in your terminal and run:
dotnet publish -c Release --self-contained -r win-x86
You can then upload the self-contained build of your site to your webspace using regular FTP tools, the deployable webapp is in your-project-folder/bin/Release/netcoreappX.X/win-x86/publish/ - Note everything in this folder must be uploaded to the webspace in order for the app to work online.
Article from the support category: ASP & ASP.NET