Setting up an FTP connection in Windows 10
How to set up an FTP connection in Windows 10 via File Explorer by adding a network location with your FTP address and login.
-
Open File Explorer. If you can’t find File Explorer, you can click the Start menu at the bottom left and type “File Explorer”, or alternatively press the shortcut Win+E
-
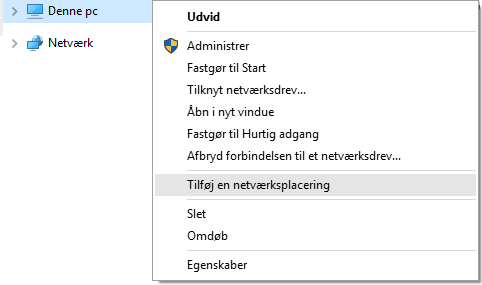
Right‑click This PC and click Add a network location
-
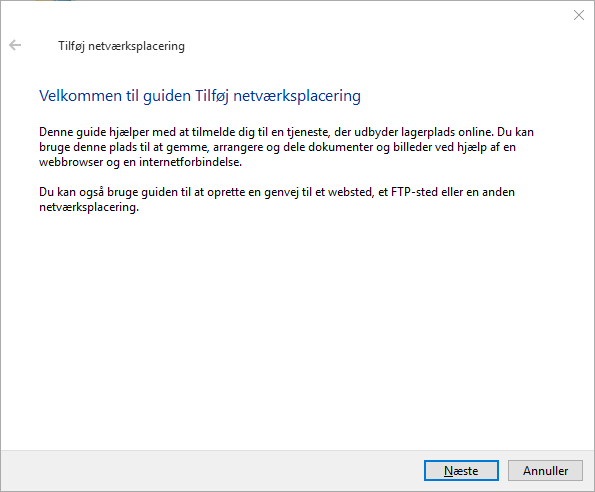
Click Next
-
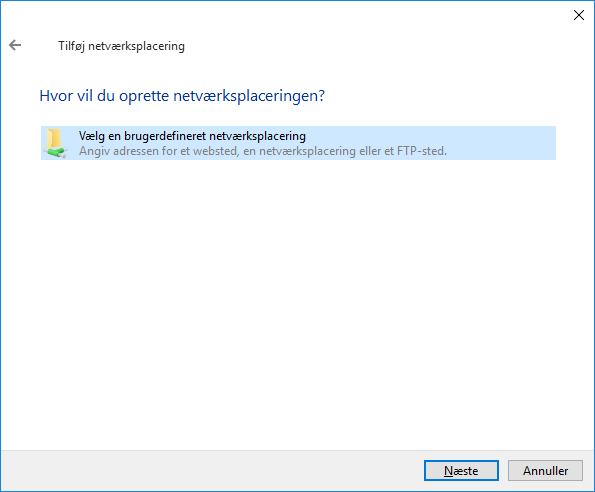
Ensure Choose a custom network location is selected and click Next
-
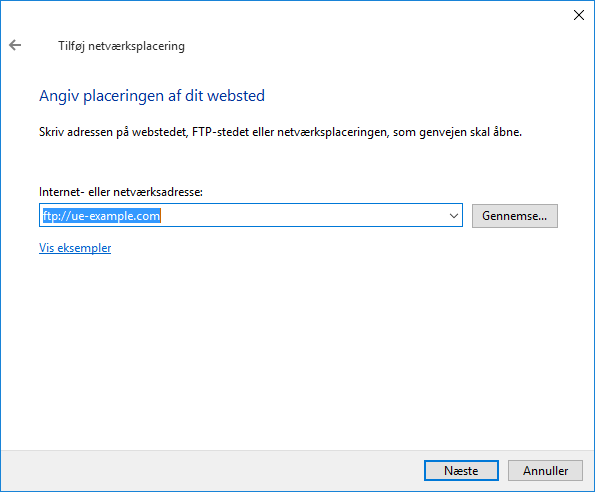
Enter the address of the FTP server. The address is
ftp://ftp.simply.comand click Next.
-
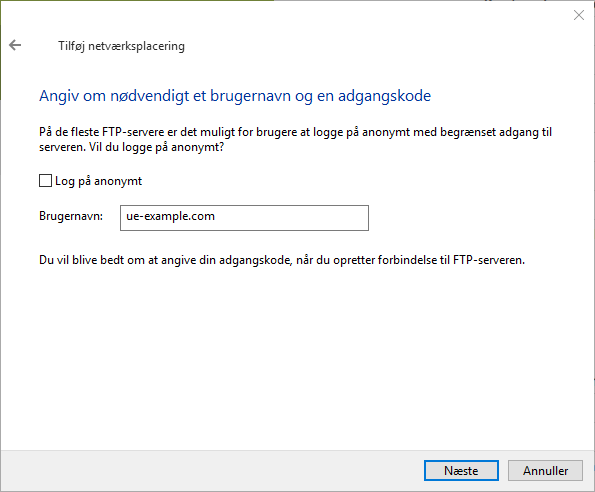
Uncheck Log on anonymously and enter your FTP username, then click Next.
The username is the domain name of the webhosting you are connecting to. If your webhosting has the domain homepage.dk, the username will be homepage.dk
-
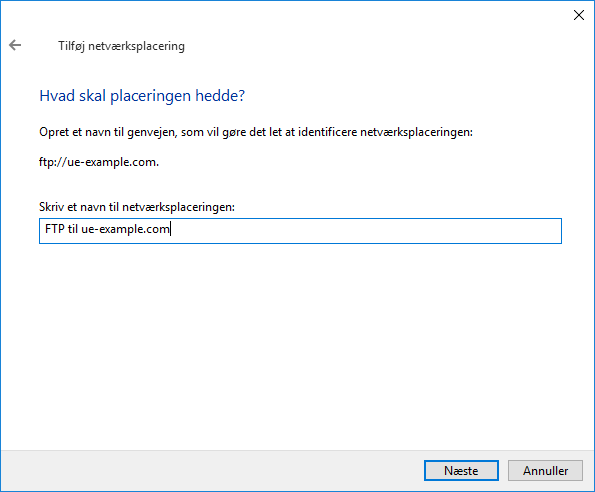
Give the connection a name. The name doesn’t matter; you can call it whatever you like.
-
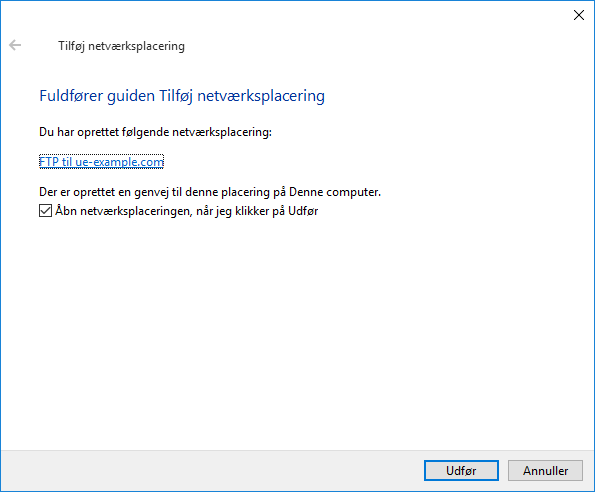
Tick the box for Open the network location when I click Finish and click Finish.
-
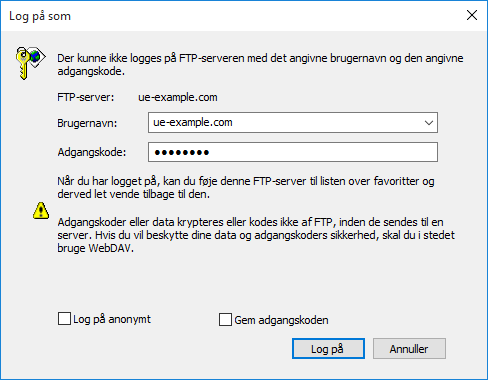
A window will appear asking for a username and password. You can leave the username blank, but enter the FTP password in the Password field and click Log on.
You may choose to check Save password if you don’t want to type the password each time you use the FTP connection.
If you don’t know the password, you can log in to our control panel, select your webhosting and click Login details. There you can reveal the FTP password by entering the code for your Simply.com account.
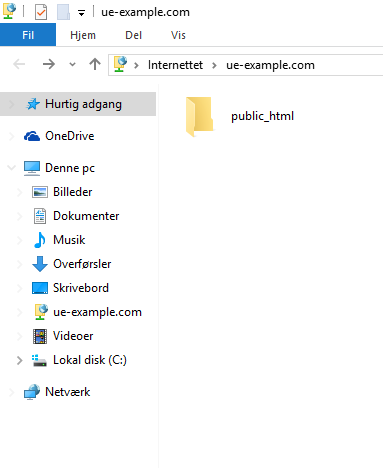
- You should now be able to use the FTP connection. You can find it under This PC in File Explorer.
Article from the support category: FTP
